Ever wondered how you could effortlessly modify your images? In this article, we're going to explain the world of AI Inpainting and show you how to use this powerful tool on the Img2Go platform. Explore new creative options and see your images transform before your eyes.
What is AI Inpainting?
AI Inpainting is a technique in artificial intelligence (AI) and image processing that enables image restoration and manipulation by intelligently filling in missing or unwanted regions of an image.
Using advanced algorithms, the AI analyzes the surrounding pixels and context to generate new image data that blends with the existing image. If you want to enhance visual appeal or make adjustments, AI inpainting offers an efficient solution.
What Can You Achieve with the AI Inpainting feature from Img2Go?
With Img2Go's inpainting feature, you can enhance your images in various ways:
Add Objects: Seamlessly add new objects to your images to improve creativity and visual storytelling. The inpainting feature makes it easy to blend new elements with the existing image.
Modify Images: Modify existing elements within your images to achieve the desired effect. Whether it is fixing imperfections or adjusting colors and tones, the inpainting feature is a powerful tool for image enhancement and editing.
How to Use the AI Inpainting Tool from Img2Go?
To get started with AI inpainting, go to the Img2Go platform. Choose the AI Inpainting tool from the list of AI features.
Step-by-Step Guide to the Inpainting Process:
- Upload an Image: Select the image you want to work on and upload it to the AI Inpainting tool. It is as simple as dragging and dropping or browsing your files.
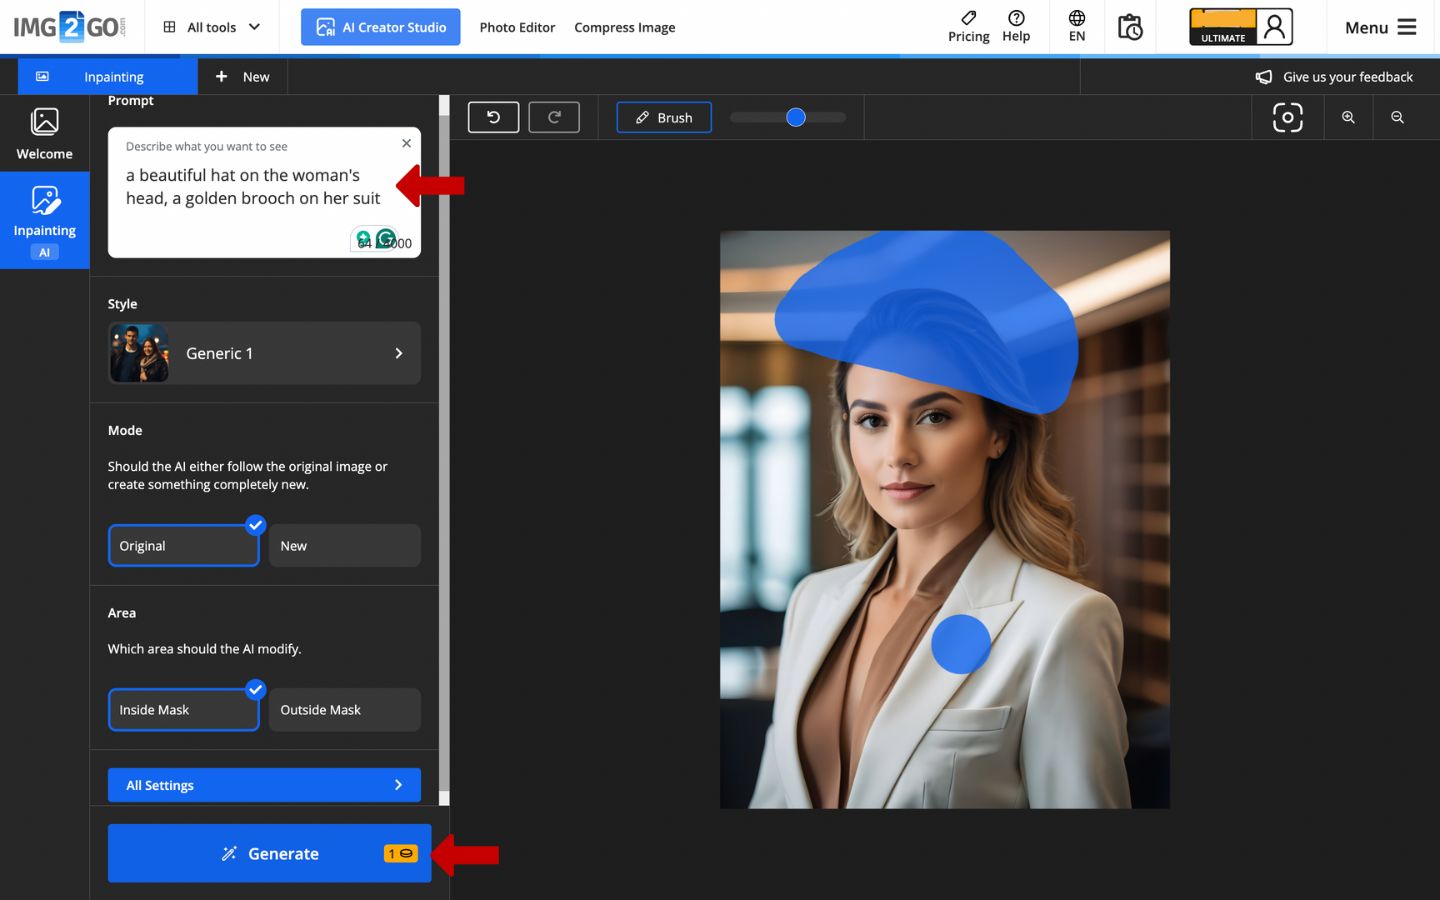
- Select Target Region with a Brush: Use the brush tool to highlight the areas you want to inpaint.
- Enter a Prompt for the Desired Changes: Tell the AI what you want to achieve. Describe what you want to see.
-
Mode and Area
Choose between two modes:
- Original Image Mode: The AI follows the original image closely, maintaining its integrity.
- Create Something New Mode: The AI generates something entirely new.
Select which area the AI should modify:
- Inside Mask: Focus on the selected area.
- Outside Mask: Modify the surroundings outside the selected area.
- Generate and Review the Results: When you are satisfied with your selections and prompts, click Generate and let the AI process your image. Then review the results and choose which one to download.
Example
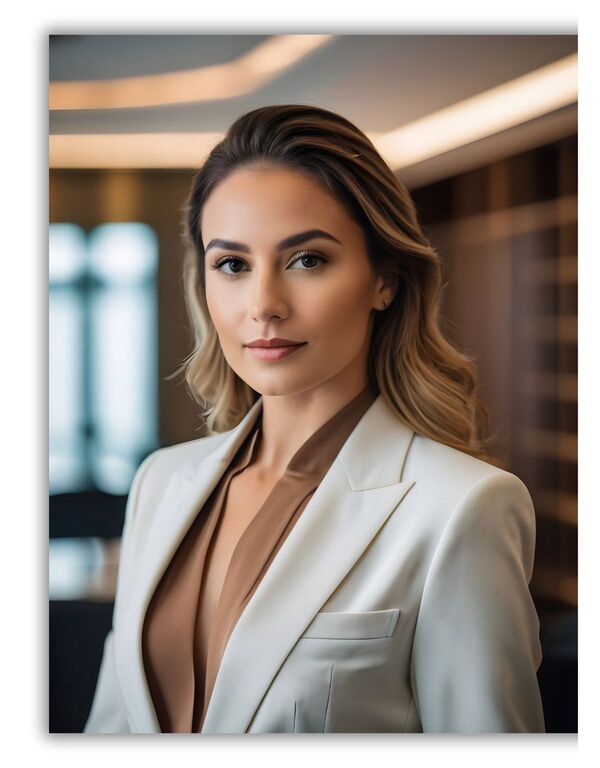
Original Image:
A portrait of a businesswoman in a plain office background, wearing a standard business suit.
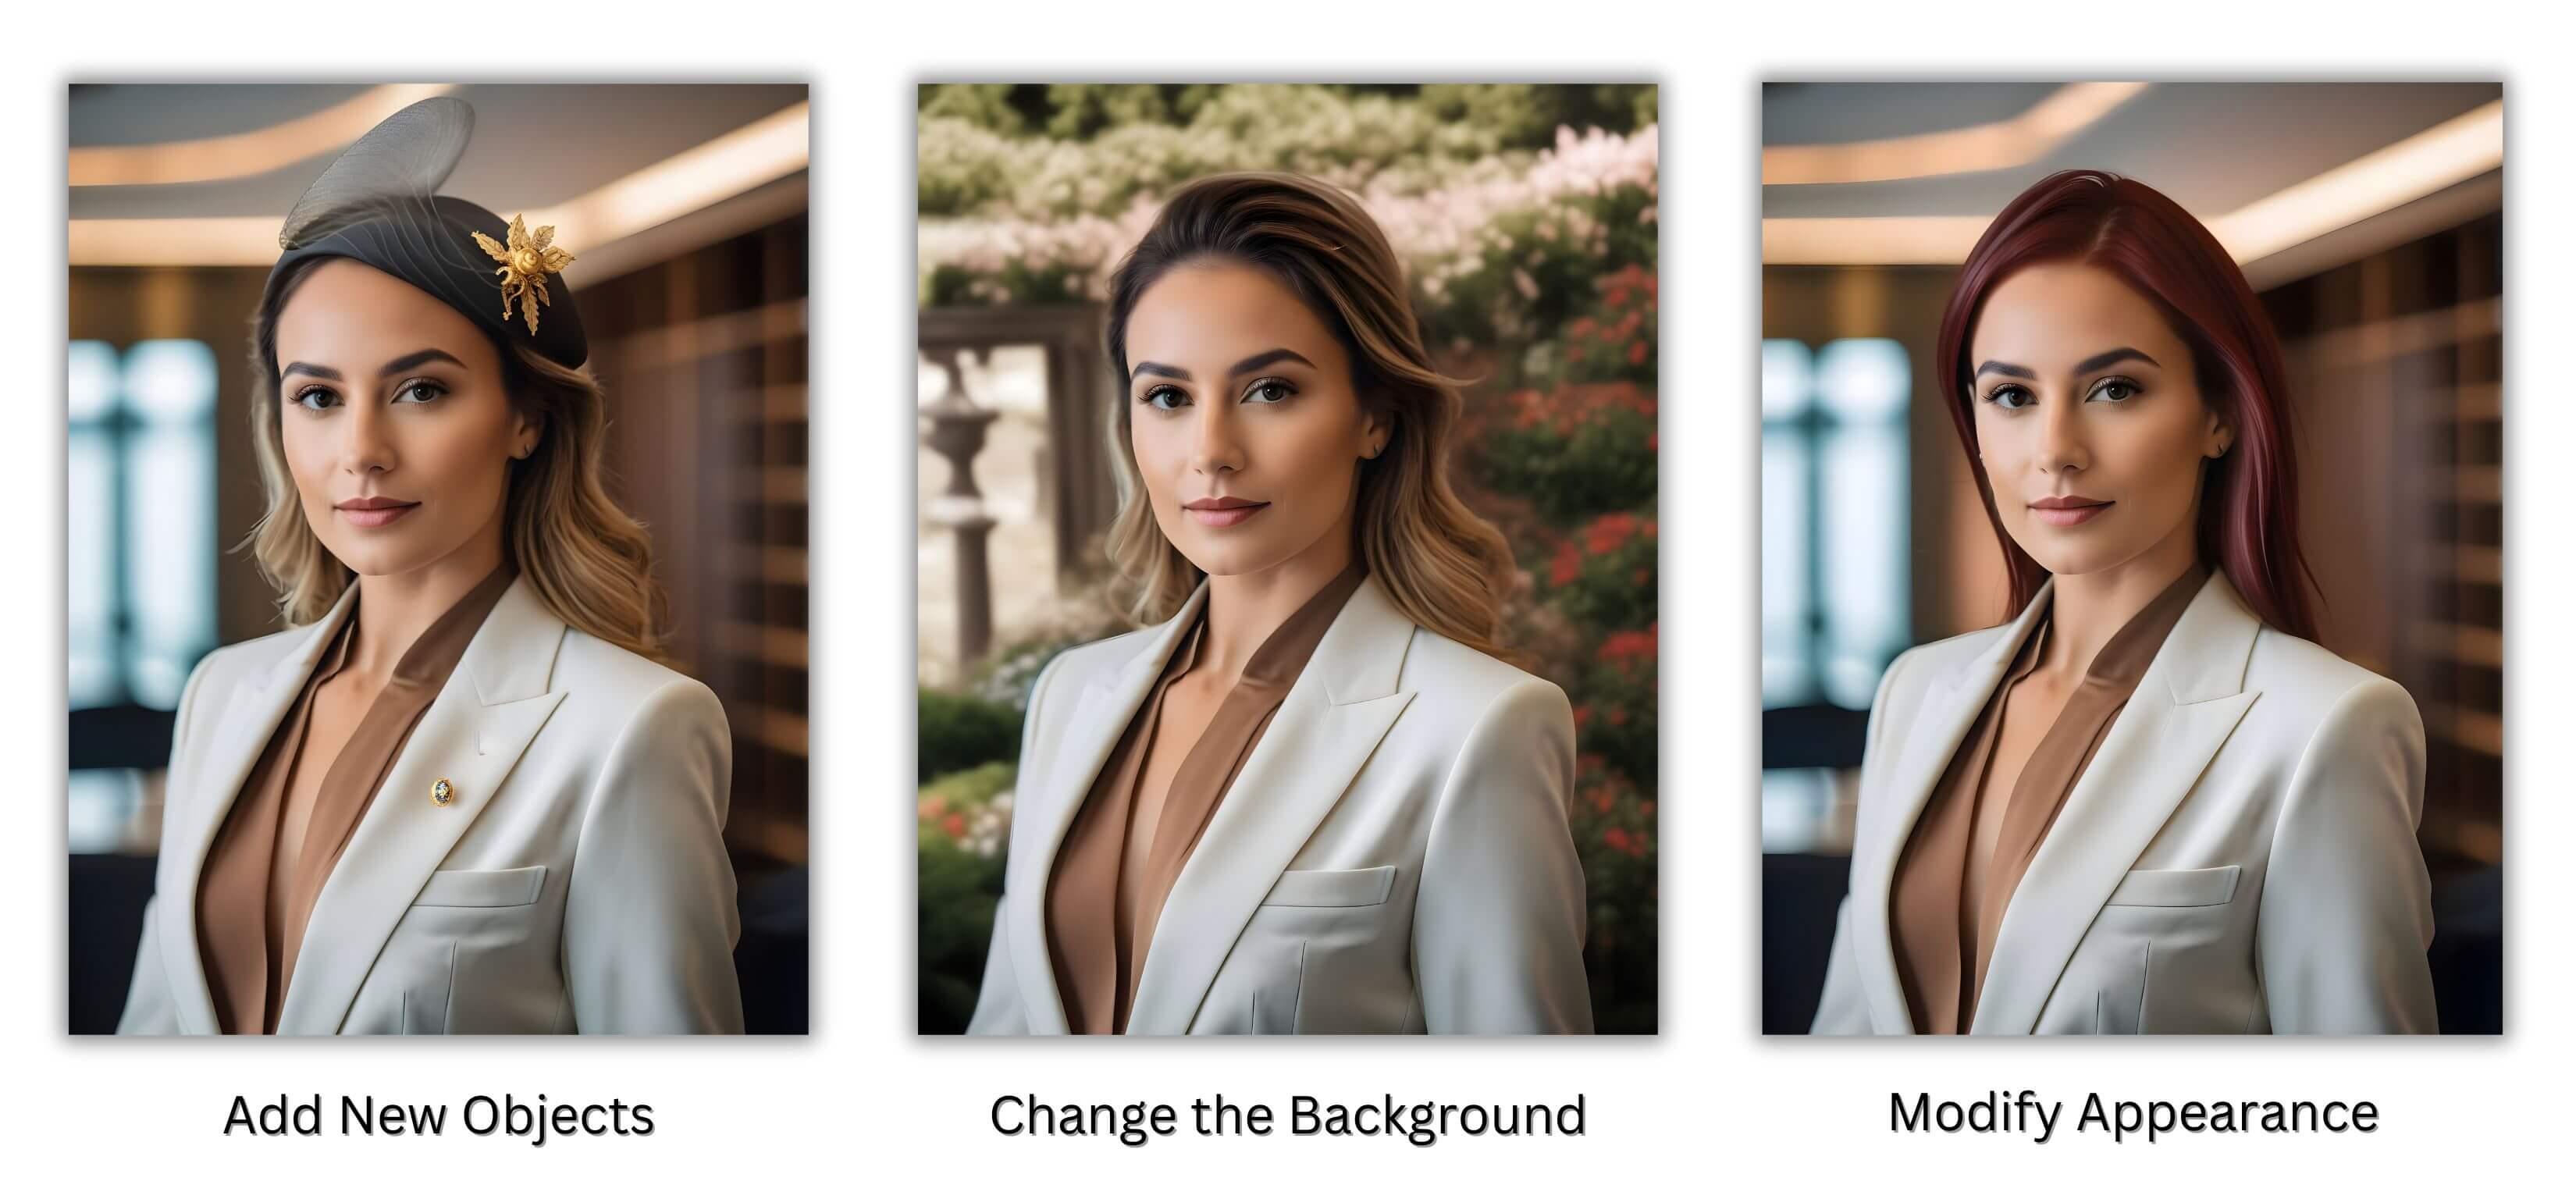
Here are some examples of how the AI Inpainting tool can enhance and modify images:
- Adding New Objects: By adding a stylish hat and a brooch, the image gains more personality and flair.
- Changing the Background: Changing the plain office setting to a serene garden background creates a more refreshing and vibrant portrait.
- Modifying Appearance: Changing her hair color to dark red shows how AI can seamlessly alter personal features.
Tips for effective use and optimization
Ready to take your creations to the next level?
Use 'Advanced Settings' for more control over the inpainting process:
- Analyze area: Choose which area the AI should focus on to better understand the context of the change. Select either "Only Masked Area" or "Whole Image" for more precise inpainting.
- Prompt weight: Adjust the prompt weight to control how strongly your text prompt influences the final image. Increase it for a stronger impact.
- Mask blur: Soften the edges of the mask to blend the new content smoothly with the surrounding area.
- Variations: Control how much the result differs from the original image. Increase or decrease variations to set the level of change.
- Runs: Choose how long the AI should run, which affects the depth and detail of the result. Longer runs can give more refined results, while shorter runs are faster but may be less detailed.
Advanced Settings are available to premium users.